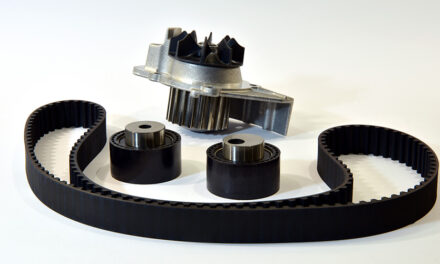

If you’re a car owner, you know how important it is to maintain your car’s cooling system for the smooth functioning of your automobile. To ensure that the engine remains cool, you need to pay good attention to the water pump in your car. Oftentimes, maintenance of the car water pump involves only replacing the pulley bearing of the pump or maybe the gasket if you discover any leaks in it. Sometimes, you might actually have to replace the entire water pump in your car. For normal usage the water pump should last about 100,000 miles, some cars may need to replace ten or twenty thousand miles earlier or some may need replacement later by the same number of miles.
But worry not, it is not rocket science, and we have a quick guide to run you through the whole process of replacing the water pump in your car. Many new DIYers, as well as longtime DIYers, find doing such activities a good use of their time. Such work gives them great satisfaction. Not only that you can actually do the work at a fraction of the cost of doing it in a dealership or repair garage
It is important to do some research so as to buy the good water pump that is most suitable for your car. This will ensure that there are no hiccups or setbacks when you are replacing the water pump. Once the new water pump has been purchased, ensure that the old pump in your car has completely cooled down, so as to avoid any untoward injuries.
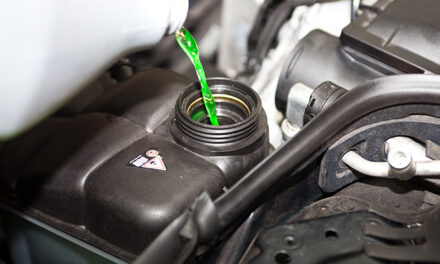
Once cool, disconnect the battery, this is a precautionary measure to ensure while working you don’t accidentally cause a short circuit. Then, meticulously drain the coolant from the compartment into a drain pan. You need to completely drain the cooling compartment without leaving any residue.
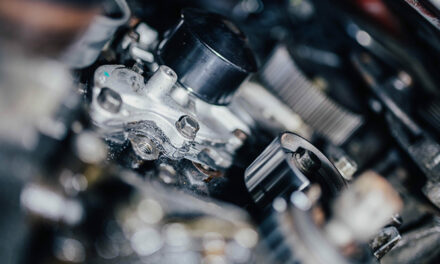
Thereafter, disconnect the water pump hoses using a socket or wrench and release the bolts. Once this is done, you can easily draw the car water pump away from the engine. Be careful to not allow the water pump to fall on other components as that could cause damage, especially to the radiator.
Thoroughly check the engine area that mounts the water pump. Wipe it carefully with a clean cloth to remove any dirt or residues, sticky substances, or broken fragments from the previous parts. This is an important step to add to the lifecycle of the water pump.
Make sure to inspect the gasket of the water pump for any leaks or damage. If you discover anything improper make sure to replace the same with a new gasket, a smoothly functioning vehicle is only a sum of its smoothly functioning individual parts!
Now, you are ready to insert the new water pump in place of the one you removed. Make sure you review the instruction manual; it is highly recommended as it can prevent confusion and incorrect assembly. At the least, keep the instruction manual handy, in case you want to refer to it at any point during the installation process.
If you followed the above tips in the installation process, you will ensure commonly made mistakes are not done during the replacement of the water pump. Once the installation is done, your car is ready for a smooth run. However, make sure to do a thorough inspection of your car before taking it out for a long spin!