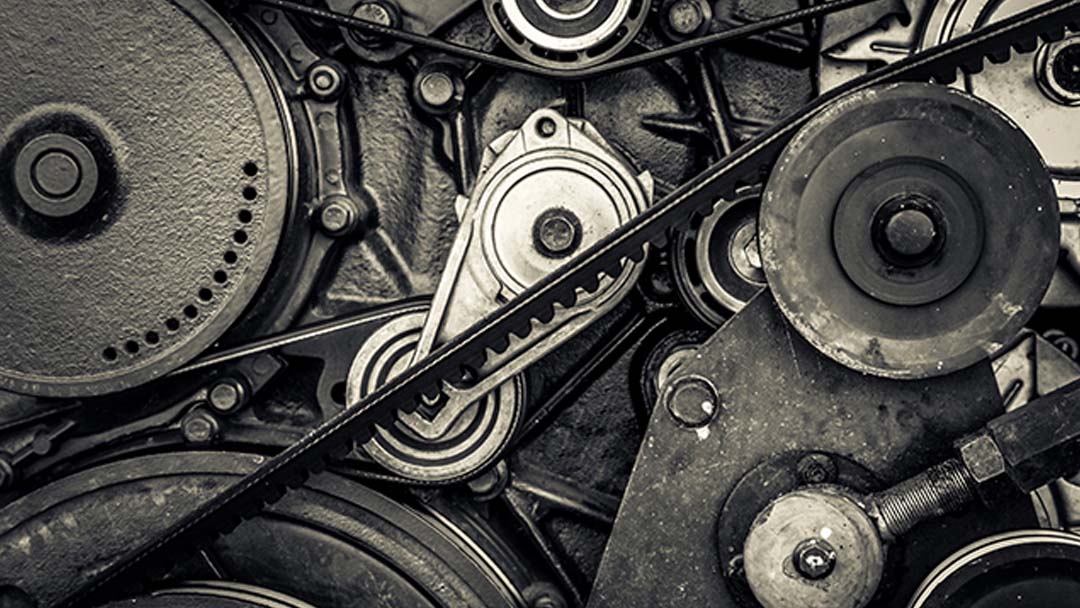
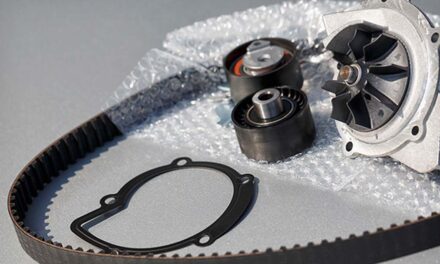
Belt-driven water pumps use two types of belts — the V-groove belt or a serpentine belt. V-groove belts used on early model vehicles use multiple belts. A serpentine system used one belt to drive all the components.
On a V-belt system, one belt will drive the power steering pump, another drives the alternator and water pump, and the last one drives the air conditioning compressor.
Late-model vehicles use a singular serpentine belt. The serpentine belt supplies power to all the pulleys; A/C, P/S, alternator, AIR pump (if equipped), and alternator.
Maintaining the correct belt tension on either type of belt system is vitally important to the life of the driven components.
Drive belts cause a lateral force on each component’s bearings. When a belt is too tight, it exerts too much force on the pump’s bearings, with the potential of causing them to fail prematurely.
If the belts are too loose, the belt tension is insufficient to turn the pulley when it is under a load. The pulley slips, causing a loss of efficiency of the item being rotated as well as increasing the wear of the belt.
V-Groove Belt Inspection Procedure With the Engine Turned Off:
- Check all the drive belts for fraying or cracking. Visually look at the belt, inspecting it for any sign of cracking or worn-out edges. Replace the belt if anything abnormal is found.
- Inspect all the pulleys for rust or unusual wear or misalignment. If out of alignment, you will need to determine the cause of the condition.
- Check the tension by using your forefinger and thumb and deflecting the belt downward. Always make your check in the middle between two pulleys.
- If the belt can be deflected downward more than 1/2 inch or the slack is excessive, the belt needs adjustment. V-Groove Belt Tensioning ProcedureThere are essentially two methods employed to apply tension to V-groove belts — the adjustable pulley and the rotating alternator methods.
Alternator Tensioning
The alternator has one long bolt on the bottom that supports and allows the alternator to swing or pivot. A short single bolt in a slotted bracket at the top secures the alternator in position.
- Loosen the bottom bolt with a wrench or socket.
- Loosen the adjusting bolt in the slotted bracket at the top of the alternator. Now, the alternator can be moved toward the engine to loosen the tension or, conversely, away from the engine to increase the tension.
- Using a piece of wood or hammer handle placed between the bottom alternator bracket bolt and the alternator, pry the alternator away from the engine to increase the tension.
- Check the tension for 1/2 inch of deflection. When the tension is correct, tighten the top bolt in the slotted bracket. Tighten the lower bolt, and check the tension again.
Adjustable Pulley
Adjustable pulleys use a slotted bracket with a pulley. A bolt travels through the pulley and the slotted bracket where the bolt secures it. A long bolt travels vertically from the side of the bracket to the pulley.
Once the pulley bolt loosens, turning the vertical bolt lifts or lowers the pulley supplying the necessary tension. Check the tension as previously stated, and tighten the pulley bolt to secure it in place.
Serpentine Belt Tension With the Engine Turned Off:
- Inspect the belt visually first.
- Look closely for cracks on the grooved underside of the belt. Look for any fraying on the sides of the belt or cut lines on the top side. If any defects are found replace the belt.
- Locate the belt tensioner. They are easy to locate on the rear-wheel-drive vehicle with the engine mounted conventionally, but more difficult on front-wheel-drive vehicles.
- The engine on front-wheel drive vehicles is transversely mounted placing the serpentine belt and tensioner close to the fender well.
- If the tensioner is located low it may be necessary to lift the vehicle and remove the tire and inner splash shield to access the tensioner.
- Visually inspect the tensioner pulley. If it’s grooved or worn thin replace the tensioner pulley by itself.
- Look at the tensioner swing arm containing the pulley. If any plastic is protruding between the swing arm and the tensioner base replace the complete tensioner.
- Grab the tensioner swing arm and attempt to wobble the arm. Any side movement indicates a failure.
- Look at the tensioner to determine the method used to move the swing arm. Some have a square hole for a ratchet and the rest use a socket on the pulley to apply pressure to move them.
- Apply the necessary tool to the swing arm and move it toward the engine. If the tensioner has very little resistance or fails to return to its original position replace it.
- Check the amount of deflection by twisting the belt. The correct amount of deflection allows the belt to twist no more than 45 degrees. If the deflection is greater than this replace the tensioner.
- Look at the tensioner mount for a deflection guide. If the pointer is out of the range to replace the belt. Check the tensioner for proper function as well and replace it if needed.
![[Vehicle Fitment-1]:Compatible with Chevrolet Avalanche 1500 2002-2006, Express 1500 2003-2006, Express 2500 2003-2006, Express 3500 2003-2006, Silverado 1500 1999-2006, Silverado 2500 1999-2004, Silverado 2500 HD 2001-2006, Silverado 3500 2001-2006,...](https://m.media-amazon.com/images/I/51trZsbFCCL._SL100_.jpg)

