Cooling systems in today’s vehicles are prone to problems if not properly maintained. Saving a penny or two today will end up costing you dollars tomorrow if preventative maintenance is not performed including the all-important cooling system flush and fill.
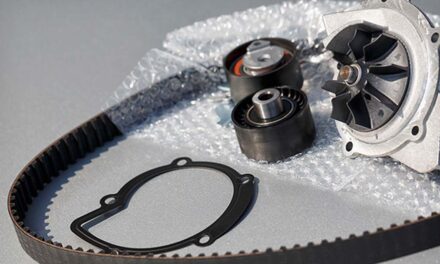
Before you install your water pump, or at least every 30,000 miles, you should flush the cooling system completely. A flush/fill kit contains cleaning agents that will remove rust, scale, and corrosive deposits that are abrasive and harmful to your cooling system, as well as impair your system’s performance. Rust contamination in an automotive cooling system can result from many different scenarios, most of which start with water. Water is different from state to state, city to city, and house to house. Based on the amount and types of minerals contained within it, water can be hard or soft. When mixing with coolant, vehicle manufacturers typically recommend distilled water. Minerals and metals found in the city and well waters may not blend well with the coolant, causing reactions that result in rust formation within the cooling system. The ratio of water to coolant is critically important. Too much or too little of either or both liquids will lessen the effectiveness of the coolant’s protective properties.
Today’s engines are built with several types of metal, some of which are susceptible to rust. Coolant does more than change the freezing point of the liquid in the system, it also prevents rusting and lubricates moving system parts. Rust formation in the cooling system can quickly destroy a water pump’s seal, block small passageways, and cause a multitude of failures in other cooling system components in addition to the water pump. This is why a flush and fill using the proper coolant mixture is so important when servicing your car’s cooling system.
Flushing The Cooling System
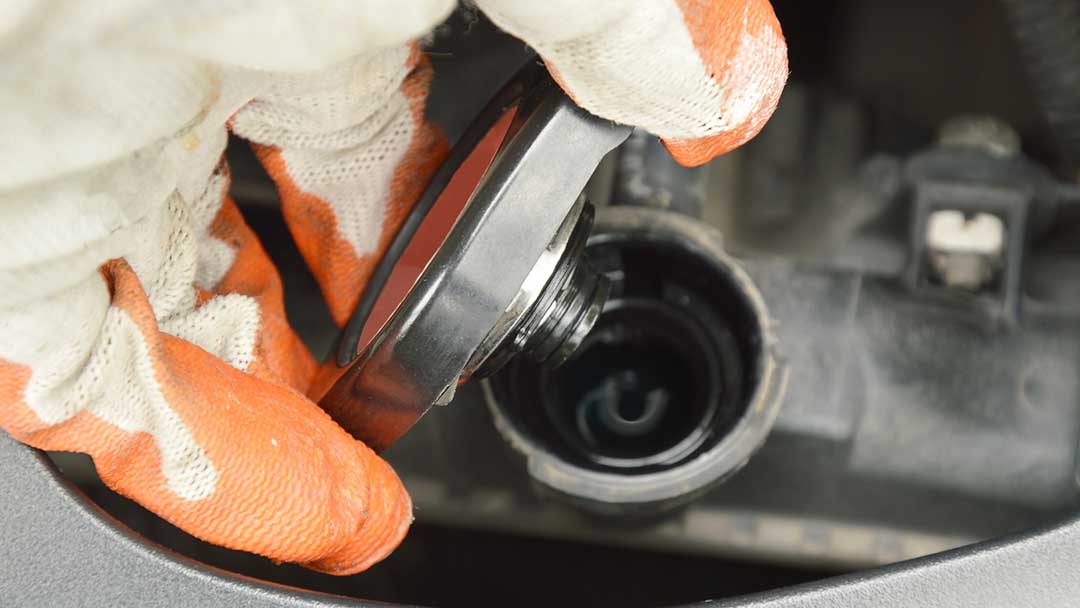
- Remove the radiator cap.
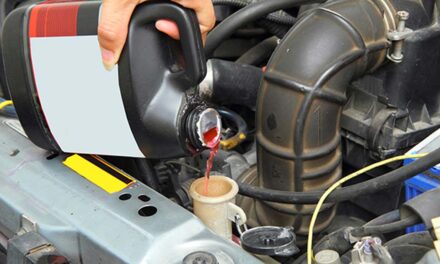
- Place a pan under the radiator to catch the antifreeze. Remember, antifreeze is not environmentally friendly and should be disposed of properly according to state and local regulations.
- Open the petcock on the bottom of the radiator and allow it to drain into the pan.
- Remove the bottom radiator hose to drain the engine block. Replace the hose when finished draining.
- Remove the thermostat and reinstall the empty housing.
- Fill the radiator with water from a hose and add a bottle of radiator flush.
- Start the engine and allow it to run for 20 to 30 minutes.
- Turn the engine off and allow it to cool.
- Drain the radiator at the lower hose again and replace the hose when finished.
- Remove the heater hoses and flush the core using the water hose to blow water through the core and out the opposite hose. Replace the hoses when finished.
- Flush the coolant reserve bottle by removing it from the fender well and cleaning it.
- Remove the upper radiator hose at the radiator and leave it open.
- Place the water hose in the radiator and turn it on.
- Start the engine and allow it to run until the water coming out of the upper radiator hose is clean.
- Shut the engine down and drain the radiator at the lower hose. Install the hose when finished.
- Install the thermostat.
- Install the upper radiator hose.
- Jack the front of the vehicle up slightly to make bleeding the air from the system easier.
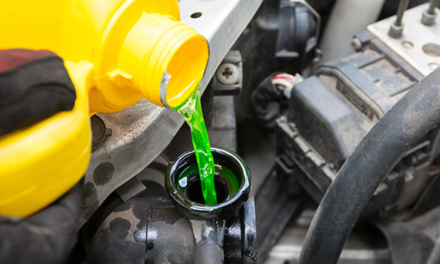
- Install the proper amount and type of coolant and distilled water. Always refer to your vehicle manufacturer’s recommendations when choosing replacement coolant.
- Start the engine and allow it to warm up. Open any purge vents in the vicinity of the thermostat housing. When the engine reaches the proper operating temperature the thermostat will open and the coolant will begin to flow through the top hose into the radiator.
When this happens you will see the coolant level in the radiator or filler tank drop. Fill the radiator up until the remainder of the way. Fill the coolant reserve bottle as well. Close any purge vents when coolant begins to emerge. Install the radiator cap.