Proper Coolant Flush Procedure
The engine cooling system is vitally important to the operation of the engine and its longevity, yet it can be the most neglected of all the systems. It’s responsible for maintaining a predetermined engine temperature for the most efficient operation.
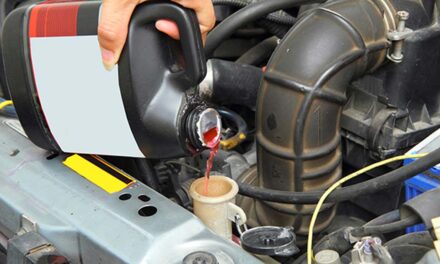
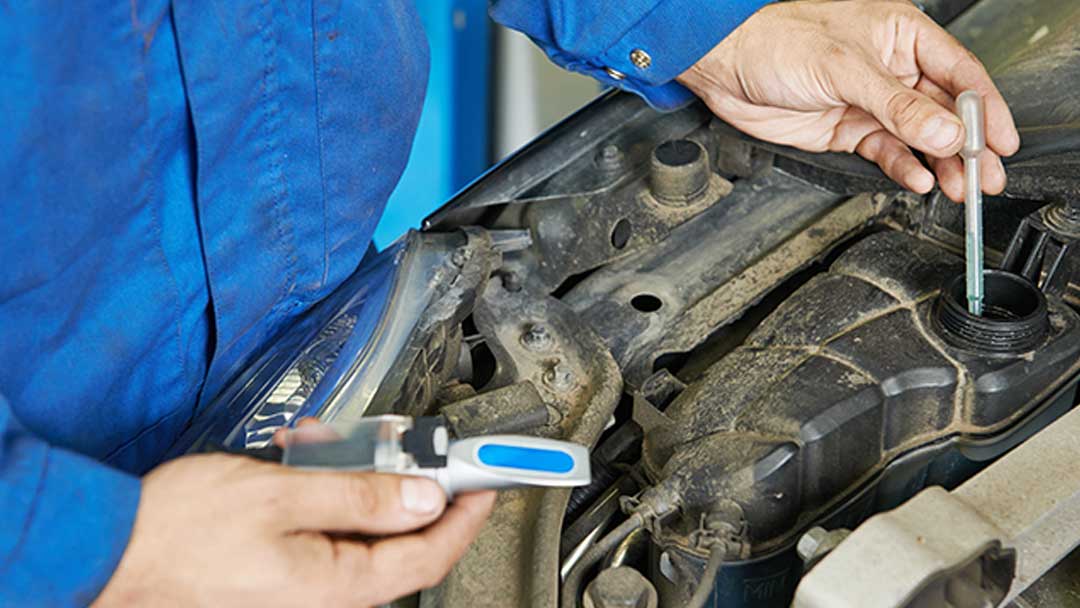
It is important to use the manufacturer’s recommended antifreeze type to protect the gaskets, seals, and internal surfaces of the engine from corrosion.
In all cases, the coolant used is a combination of distilled water and antifreeze. The coolant serves to raise the boiling point of the coolant, prevent the coolant mixture from freezing, prevent corrosion within the engine block and radiator, and act as a lubricant for the water pump.
Servicing the cooling system will extend the service life of the water pump and the rest of the cooling system components.
Items Needed
- Flushing Kit
- Drain pan
- Sealable containers to capture and properly dispose of the old coolant
- Sufficient quantity of antifreeze (consult the owner’s manual for the proper type and amount)
- Water hose
- Floor jack
- Two jack stands
- Basic hand tools
Procedure
- Wait until the engine is cool to begin.
- Remove the radiator cap.
- Place a pan under the radiator to catch the antifreeze.
- Remember, antifreeze is not environmentally friendly and should be disposed of properly according to state and local regulations.
- Open the petcock on the bottom of the radiator and allow it to drain into the pan.
- Remove the bottom radiator hose to drain the engine block. Replace the hose when finished draining.
- Install the flushing “tee” according to the instructions on the kit.
- Install the backflow preventer.
- Attach a hose to the backflow preventer to the flushing tee.
- Attach the water hose to the backflow preventer. Begin the flush. Note: be sure to capture any coolant and dispose of properly.
- Alternately block the heater hoses to reverse the flow of water to flush the block and heater core.
- Once the water runs clear the flush is complete.
- Remove the water hose from the tee.
- Cap or remove the flushing tee.
- Drain all the residual fluid from the radiator and engine block.
- Flush and clean the coolant recovery tank.
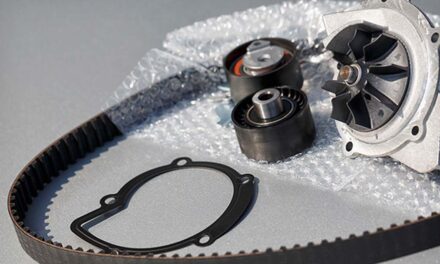
With the system empty you can begin any needed repairs such as replacing the thermostat, water pump, and weak or deteriorated hoses. Once the repairs are complete, fill the system with the manufacturer’s recommended coolant at a 50/50 mixture of coolant and distilled water.
- Jack the front of the vehicle up slightly to make bleeding the air from the system easier.
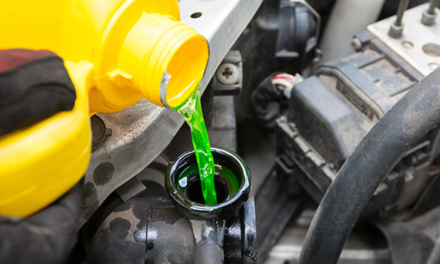
- Install the proper amount and type of coolant and distilled water. Always refer to your vehicle manufacturer’s recommendations when choosing replacement coolant.
- Start the engine and allow it to warm up. Open any purge vents in the vicinity of the thermostat housing and set the heater controls to hot to allow the coolant to flow through the heater core. When the engine reaches approximately 195 degrees F the thermostat will open and the coolant will begin to flow through the top hose into the radiator.
When this happens you will see the coolant level in the radiator or filler tank drop. Fill the radiator up the remainder of the way. Fill the coolant reserve bottle as well. Close any purge vents when coolant begins to emerge. Install the radiator cap.