Ensuring that the cooling system functions properly is an important part of preventative maintenance. A failure of this system can quickly result in a catastrophic engine failure.
The Flow of Coolant
Coolant flow begins through the lower radiator hose to the water pump mounted on the engine. From the water pump, the coolant flows through the engine block, around the cylinders, up through the cylinder heads, passes the thermostat on the top of the engine, and returns to the radiator through the top radiator hose.
Two additional hoses provide coolant for the heater core. Coolant passes through a hose on the water pump to the inlet side of the heater core while the outlet side returns the coolant through a hose to the intake manifold near the thermostat.
Antifreeze and Your Engine
In an effort to make modern engines more efficient and lighter, a vast array of alloys are in use. These vary by manufacturer.
A modern engine may have aluminum cylinder heads, a cast iron block, various combinations in the head gaskets, an aluminum water pump with a steel shaft and impeller of varying alloys, as well as different compositions in the intake manifold.
To protect these alloys from corroding when in contact with dissimilar materials, antifreeze manufacturers have added their own corrosion-prevention additives, rust inhibitors, and silicates to protect the metal components.
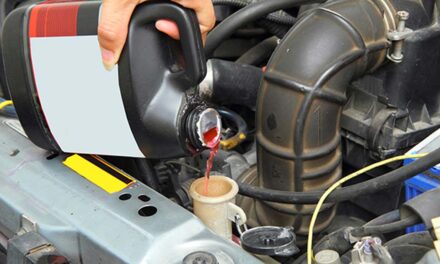
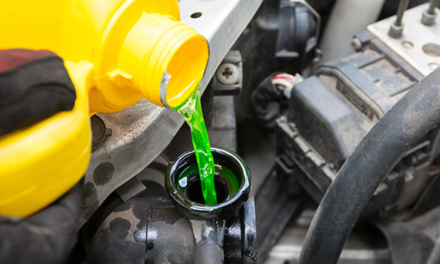
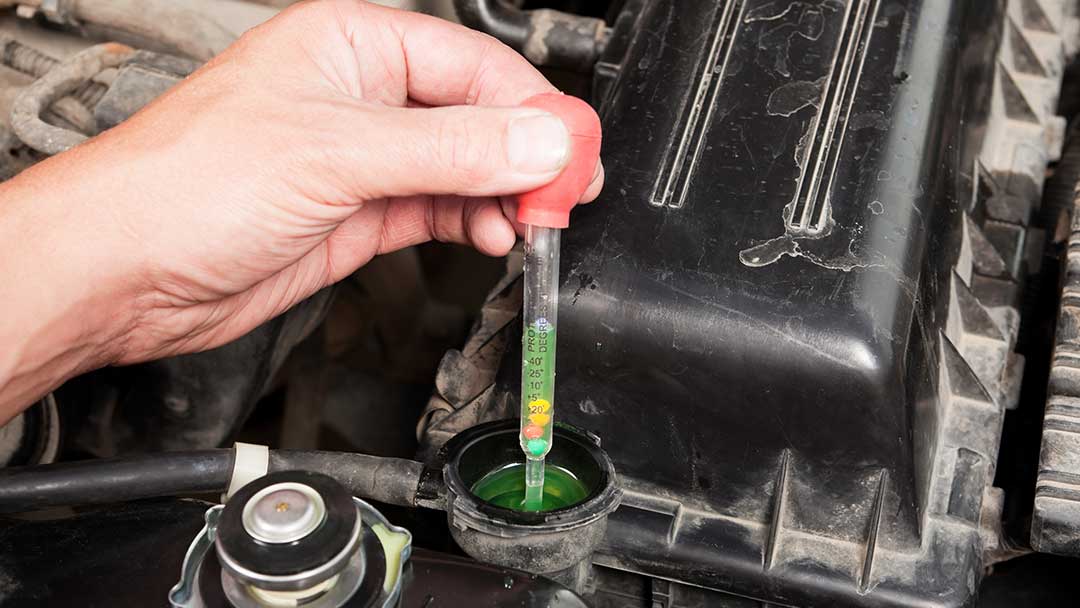
It is vitally important to use the manufacturer’s recommended correct antifreeze and distilled water mixture to prevent scale and corrosion from contaminating the cooling system.
Inspecting the Cooling System Components
- Only inspect the cooling system when it is cool.
- Inspect the front of the radiator for any obstructions preventing the flow of air through the radiator; bugs leaves and other debris.
- Look for leaks (indicated by rusty lines) on the top, sides, and center of the radiator (core).
- Remove the radiator cap and look for tears in the rubber seal. Have the cap pressure tested, if in doubt replace it.
- Check the coolant level and color. If the coolant is frothy or looks like there is a muddy substance present, the engine’s head gasket may have failed and combustion gases or oil is entering the cooling system.
- Inspect all the hoses for leaks and stiffness. If a hose is exceptionally soft it will collapse under high rpm.
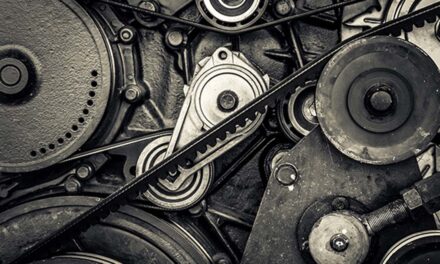
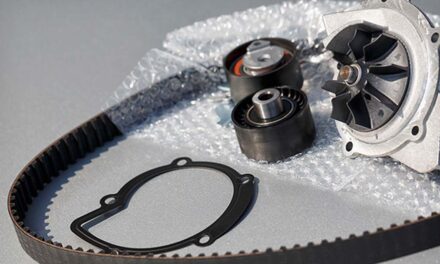
- Inspect the water pump for leaks. Follow the lower radiator hose to the engine where it is attached to the water pump. A leak in the water pump on a front-wheel drive vehicle can cause the timing belt to degrade and lead to premature failure resulting in catastrophic engine damage.
- On a conventionally mounted engine, check all the belts and tensioners. Inspect the freeze plugs on the side of the engine block for rusting or leaks
- Inspect the intake manifold for any signs of leaks at the outer edges.
- Inspect the passenger floor for any signs of coolant leaks on the carpet from the heater core.
- Start the engine and pay particular attention to the temperature gauge. It should rise to no more than 200 degrees before it stabilizes. If the engine will not reach normal operating temperature the thermostat may be stuck open.
- If the temperature continues to rise, raise the hood and check to see if the electric engine-cooling fan is operating. If not, the fan has failed. If the fan is operating, the thermostat has failed in the closed position.
- Inspect the coolant reserve tank for any signs of leaks and proper level.
Repair or replace any deficiencies found in the above inspection sequence.
Flush and Fill
Be sure to do a complete cooling system flush and fill. Drain your radiator, flush it, and refill it with the proper distilled water/coolant mixture recommended by your vehicle’s manufacturer. Old coolant loses its ability to protect the system over time and collects sediment and debris which will contaminate the entire cooling system and its components.